- CAD Plotters
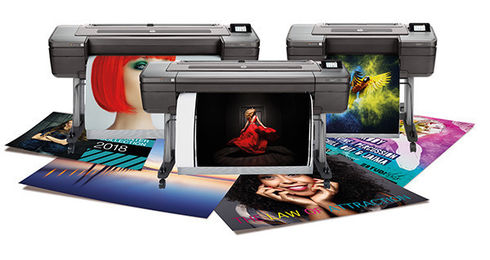
- Wide-Format Photo, Fine Art & Graphic Printers
- HP Latex, Outdoor, Signage, Wall Paper Printers & Cutters
- Wide Format Ink & Media Supplies
- Multi Functional Printers & Plan Copiers
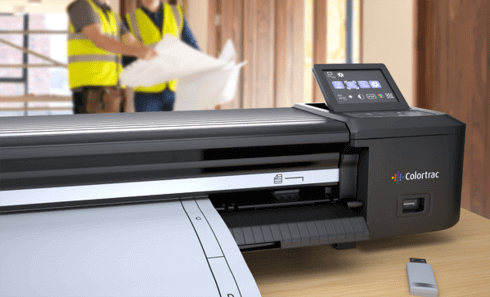
- Large Format Scanners
- Finishing - Large Format Paper Folders, Trimmers, XY Cutters & Laminating
- Canon A4 and A3 Copier Paper
- Canvas, Stretcher Bars & Laminate
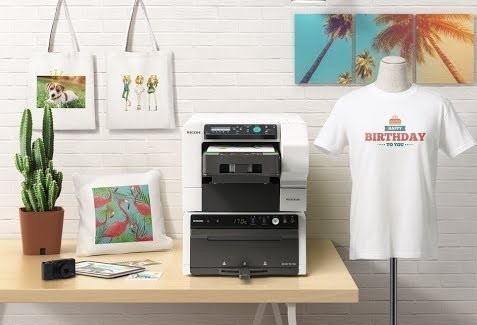
- Fabric Printers
- 3D Printers
- Bricsys BricsCAD® Software
- Colour Management & RIP Software
- Plotter Warranties
- Storage & Filing Systems
- OFFERS
Why use plot-IT?
- Est since 1965
- Group turnover - £15 million
- 5 UK offices with over 100 staff
- HP Designjet Warranty Provider
- Autodesk Gold reseller
- Canon Elite Partner
- Stratasys - Gold Partner
Search by Brand


Autodesk inventor - Shape Editor Video
Shape Generator provides an intelligent strategy for maximizing part stiffness based on the constraints you specify. The technology is integrated into Inventor making it convenient to incorporate in your design process. Shape Generator produces a 3D mesh that can be used to guide your design refinement. As a result, the best time to use it is in the early or conceptual design stages.
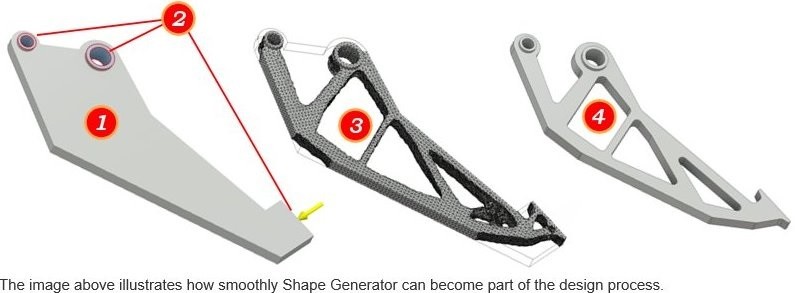
1.The first step is to create a build volume or approximation of the part model. The model should contain requisite contact points, such as the two pin locations, and the contact surface where force will be applied.
2.With the build volume defined, you can specify preserve (keep out) zones (the process will not modify these zones when creating the guide shape), and apply constraints and forces the part may encounter in use.
3.With the design criteria specified, you run a Shape Generator Study and receive back a mesh in response to the criteria.
4.The mesh serves as a guide for making modifications to the build volume model. Your edits transform the model from an approximation into a design. Note: Shape Generator is not supported for assemblies or multi-body parts (single parts which contain multiple bodies).
Return to the Autodesk Inventor Tutorial Section or Rent Autodesk Inventor via Desktop subscription online