

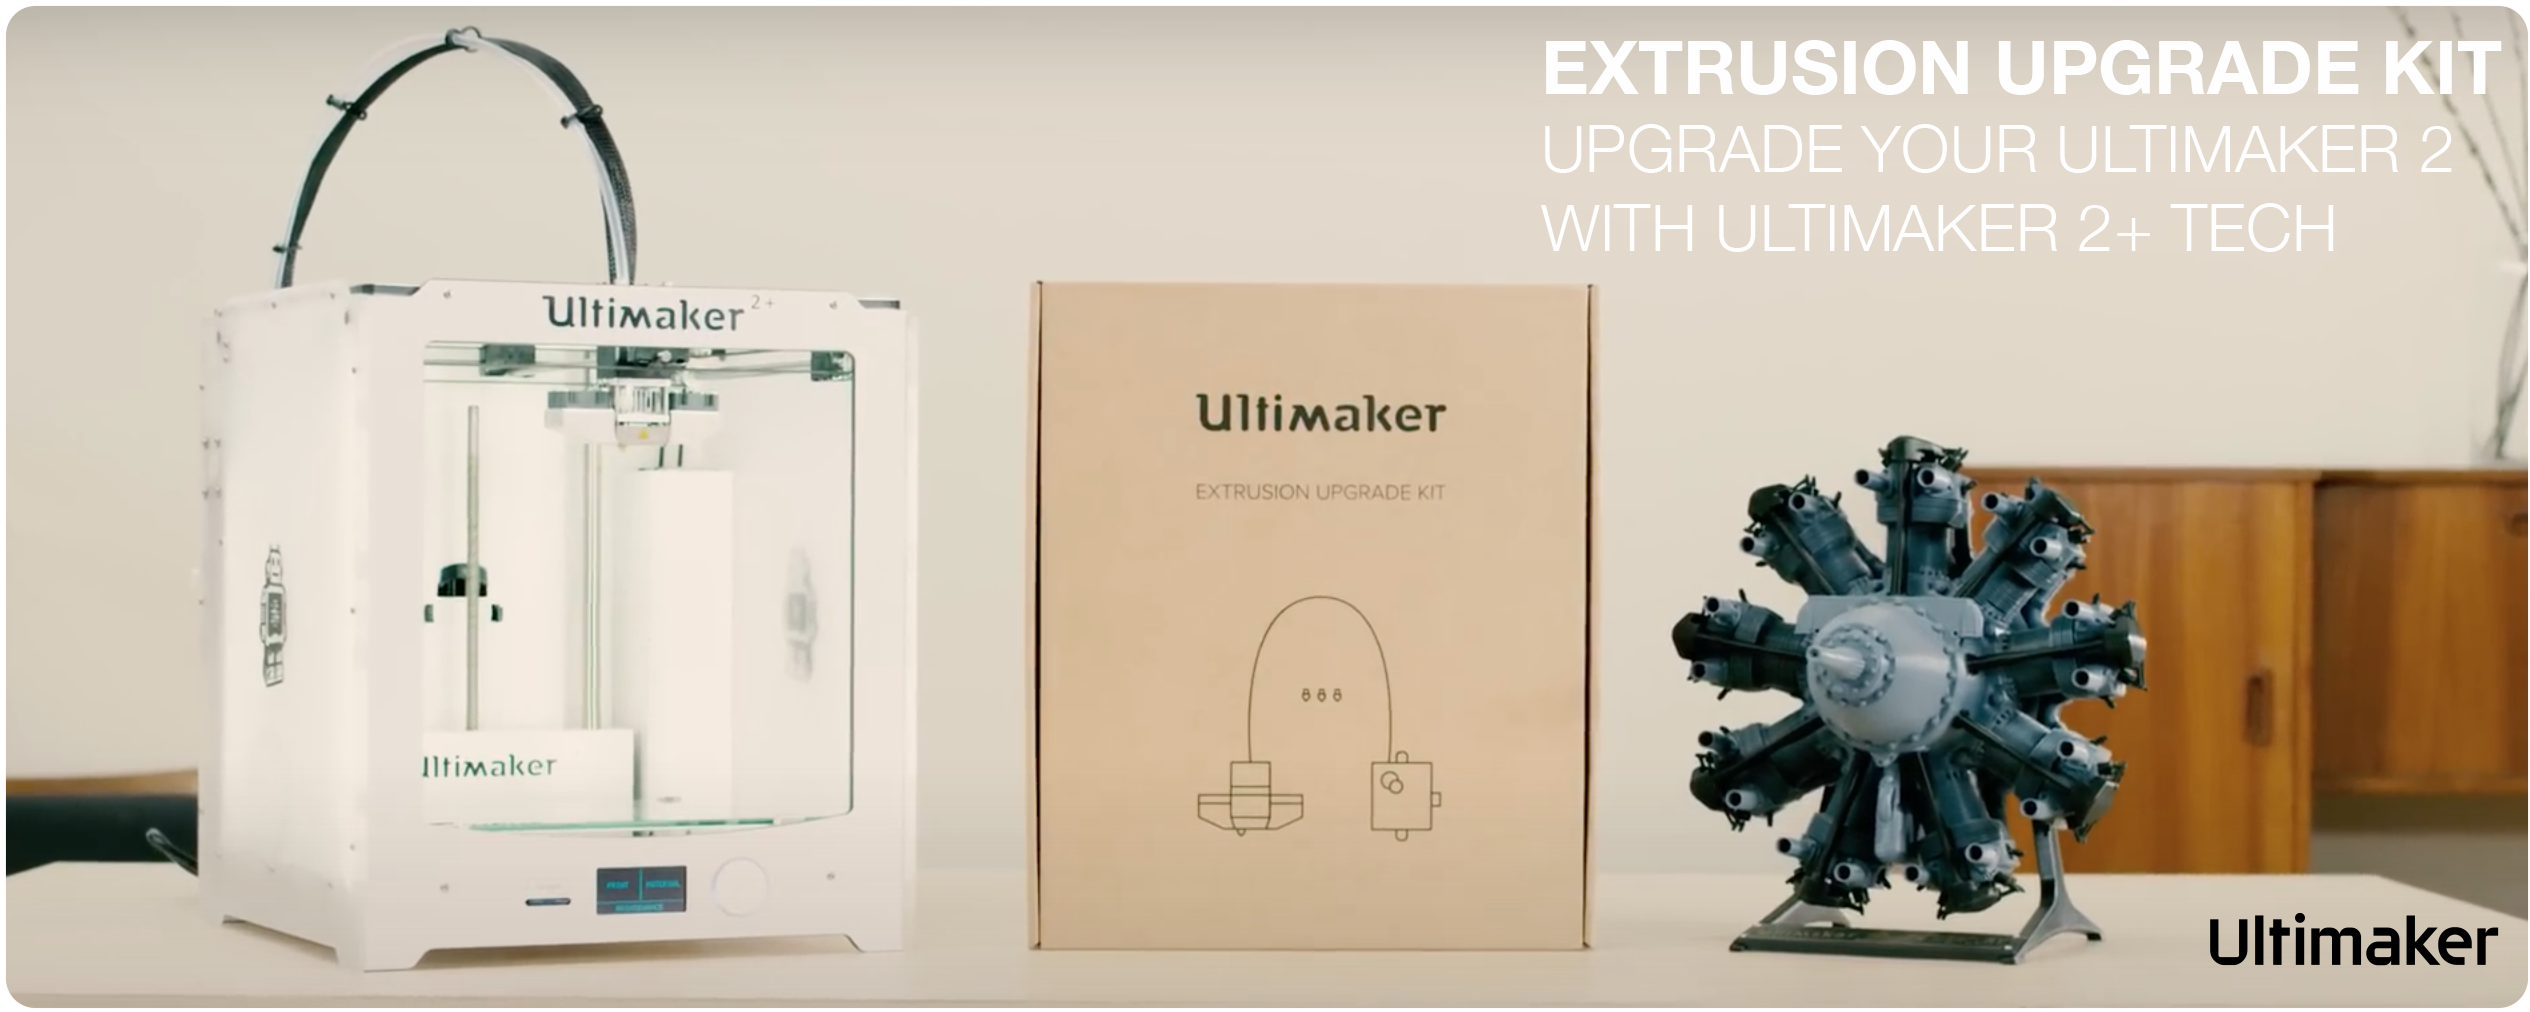


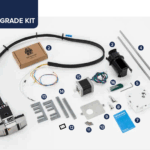

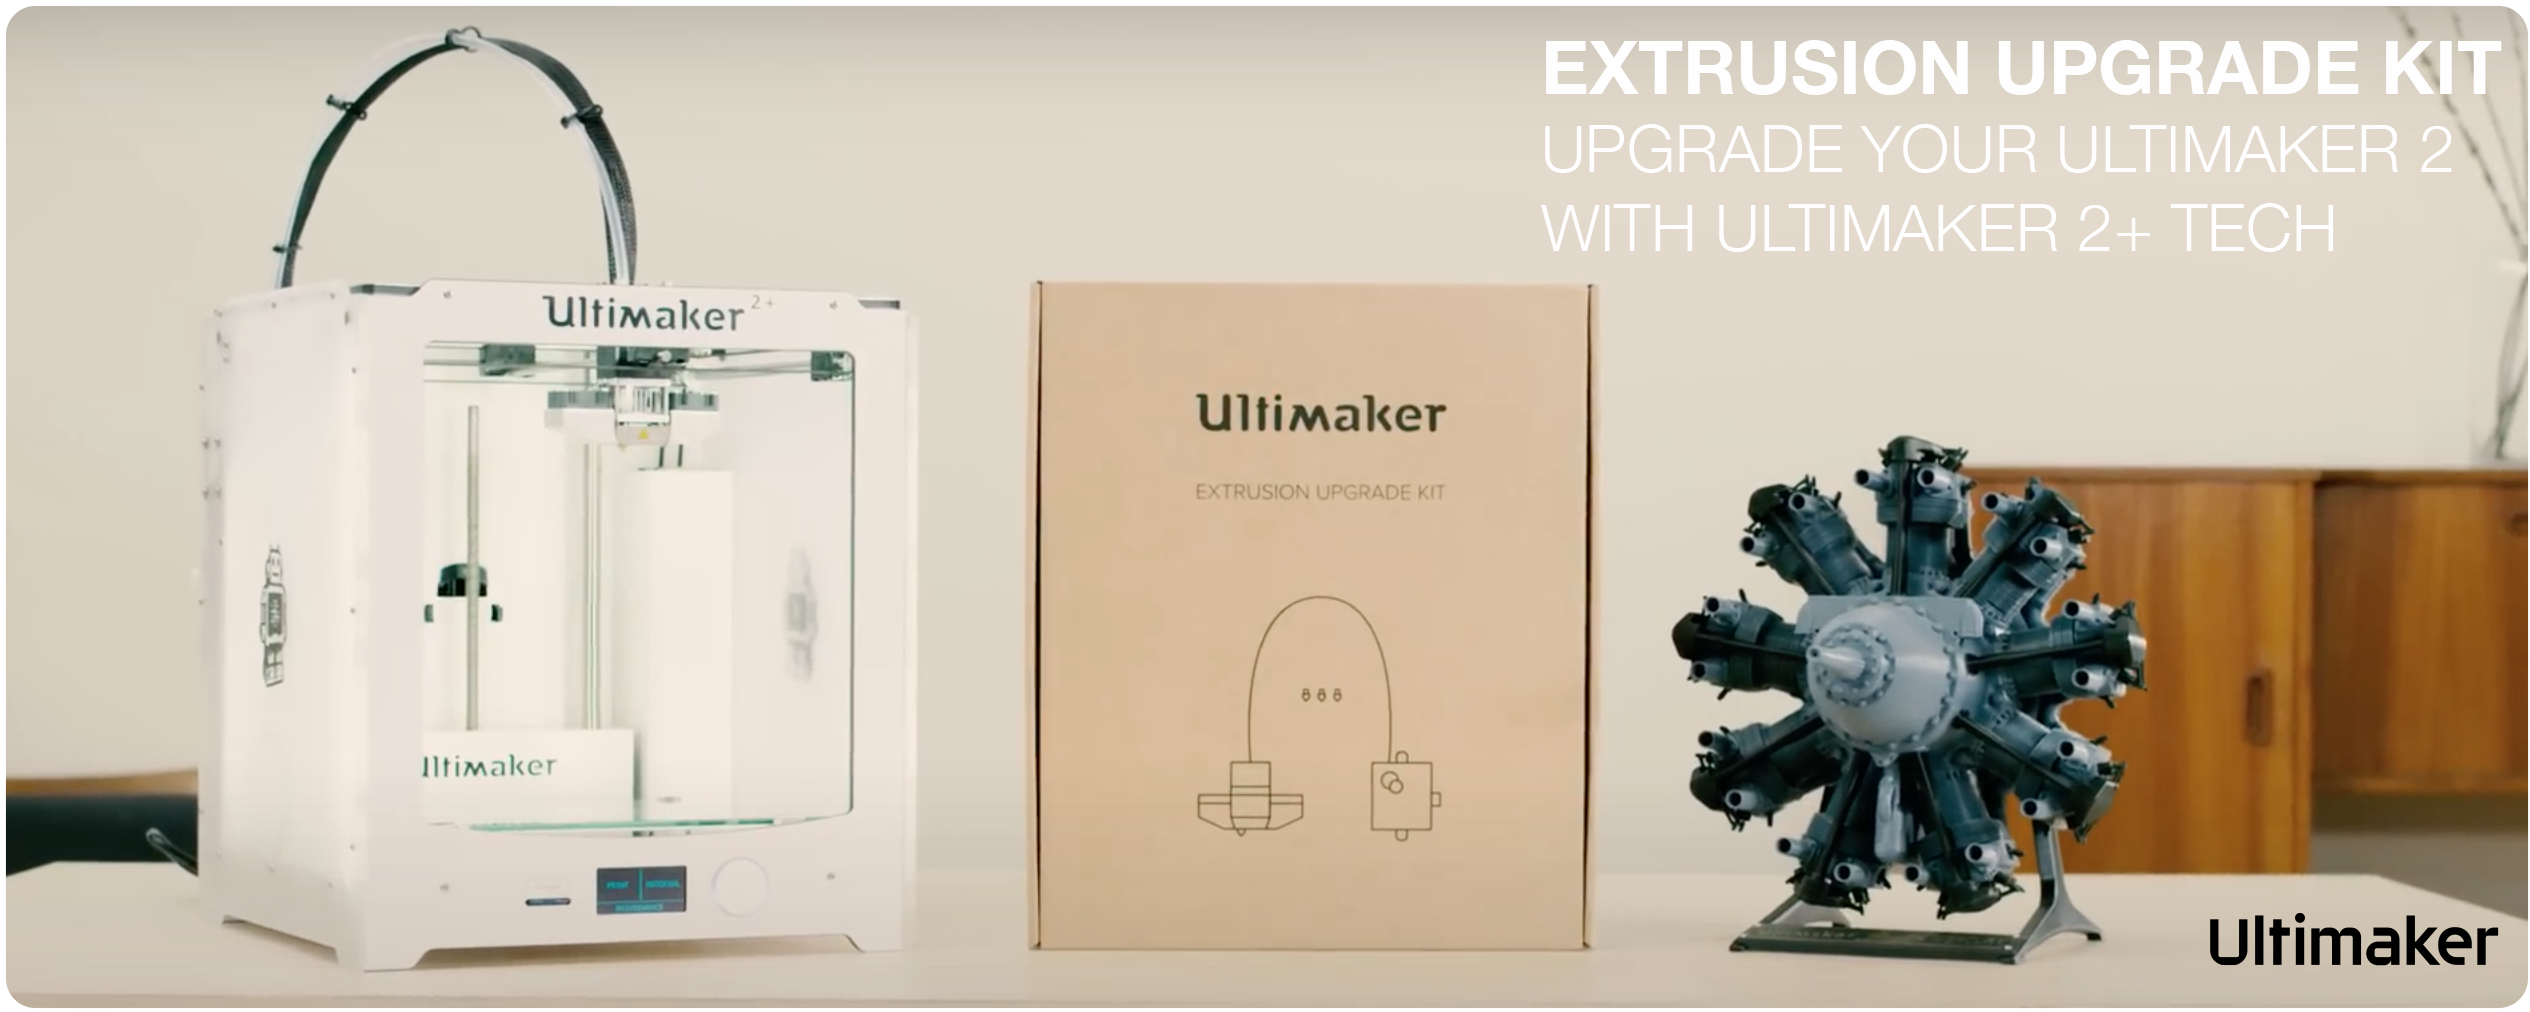
UltiMaker 2 Extrusion Upgrade Kit (9510): Upgrade your Ultimaker 2 to an Ultimaker 2+ in approximately 1 hour with the UltiMaker Extrusion Upgrade Kit! Embrace the latest in 3D printing technology with features like a geared feeder for heightened reliability, swappable nozzles for precise control, and optimised airflow ensuring smoother prints. Elevate your Ultimaker to new levels of speed, accuracy, and performance effortlessly.
By replacing the parts most susceptible to wear and tear, this kit ensures prolonged longevity, guaranteeing years of hassle-free 3D printing enjoyment.

GEARED FEEDER: Cutting-edge feeder, simplifying filament swaps and enabling precise pressure adjustments tailored to your filament needs.
SWAPPABLE NOZZLE: Effortlessly alternate between 0.25, 0.4, 0.6, and 0.8 mm nozzles, offering versatility for intricate detailing or accelerated print speeds according to your preferences.
OPTIMISED AIRFLOW: The new fancaps, achieve precise airflow directed precisely beneath the nozzle, evenly distributed from both sides for optimal print quality.

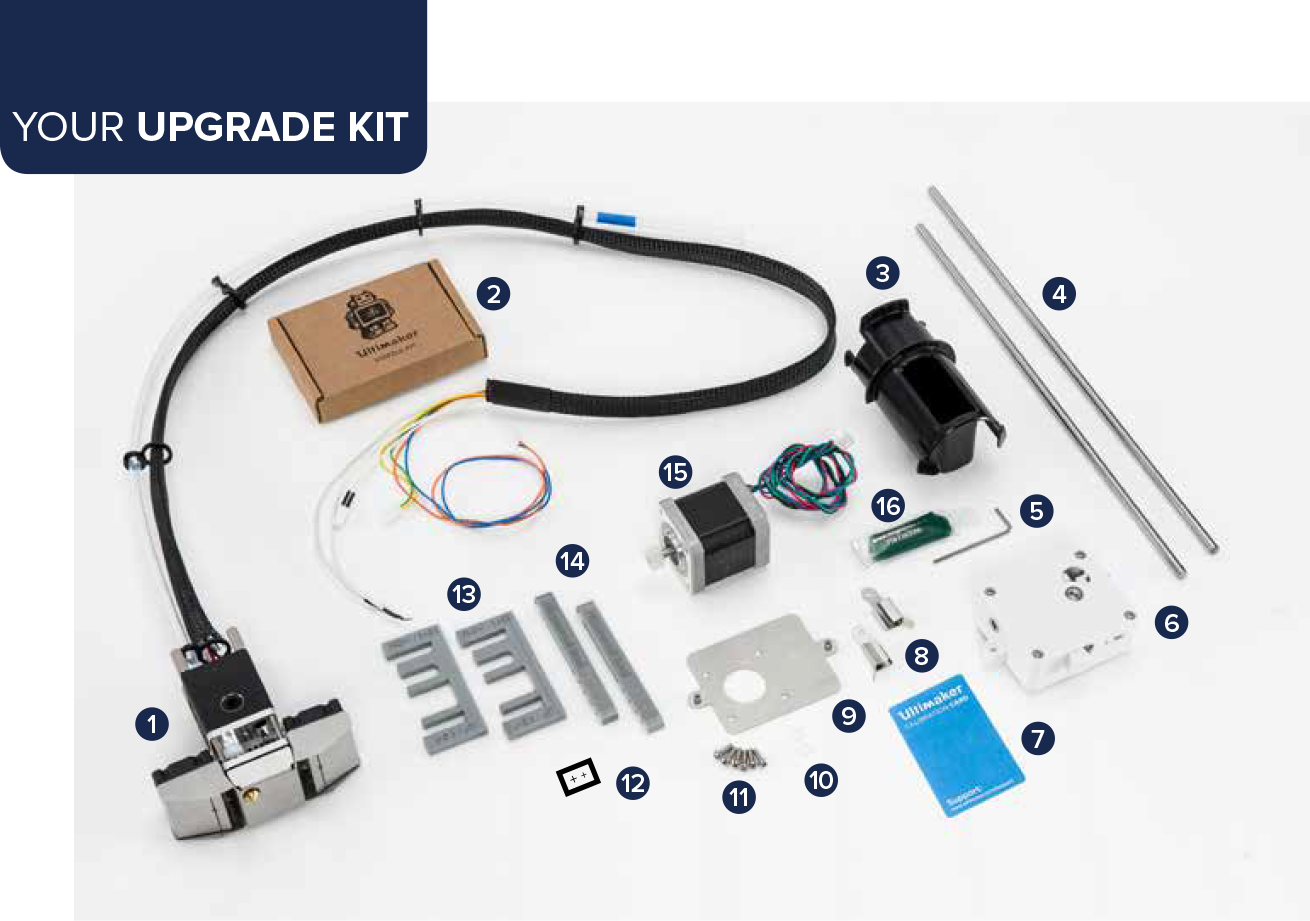
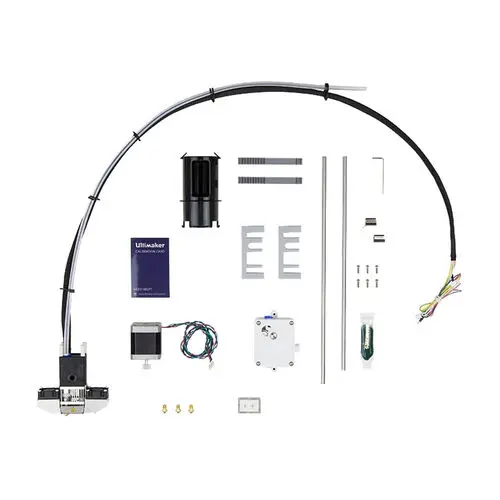
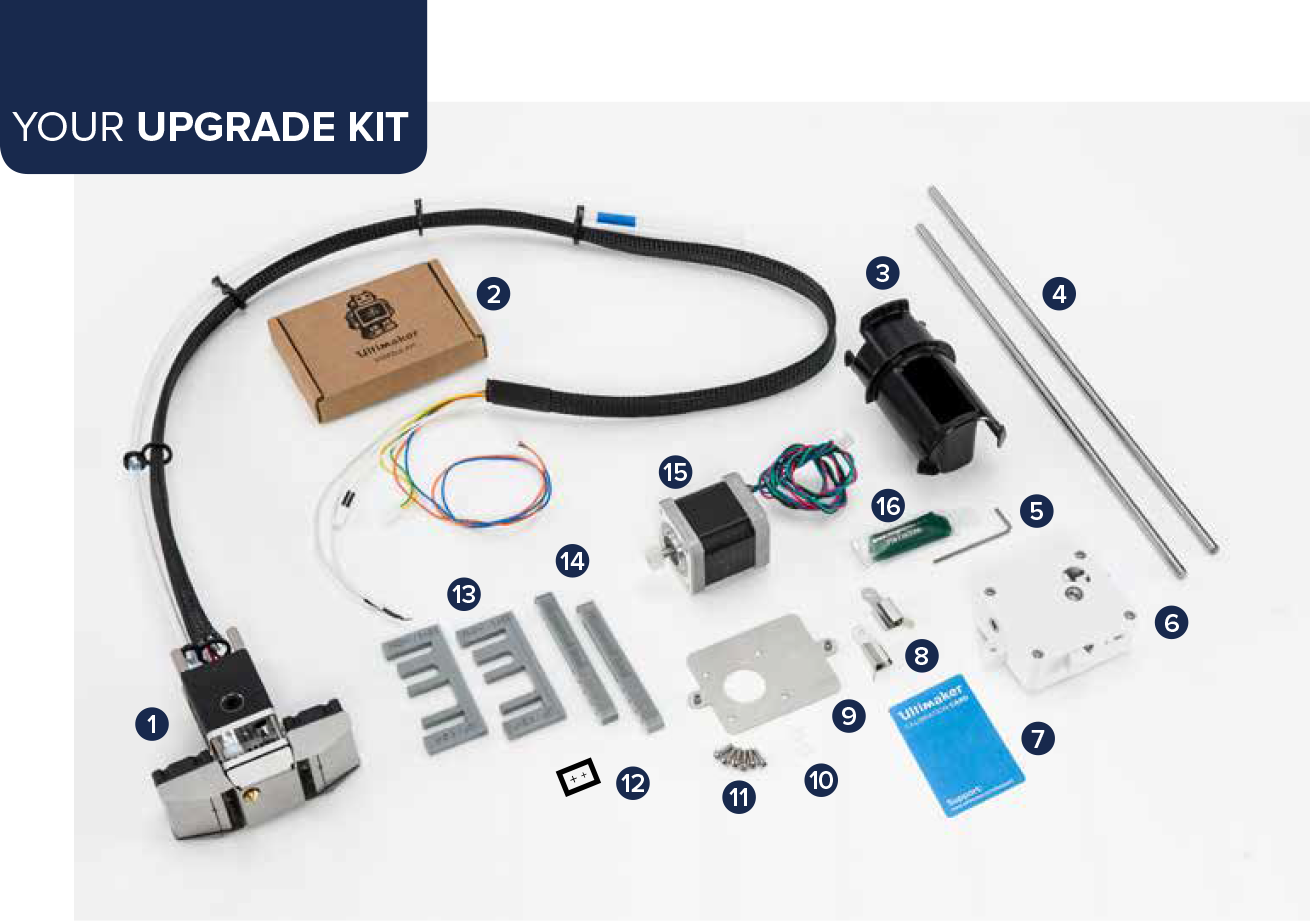
1. Pre-assembled print head 2. Nozzle kit 3. Short spool holder 4. Print head shafts (X and Y) 5. Hex wrench 2 mm 6. Pre-assembled feeder 7. Calibration card 8. Build plate clamps (2x) 9. Geared feeder mounting plate 10. M3 ring (2x) 11. M3x10 mm bolts (6x) 12. "+" stickers 13. Print head (dis)assemble tools (2x) 14. Print head alignment tools (2x) 15. Feeder motor 16. Grease
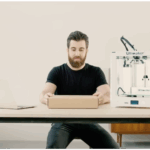
INSTALLATION GUIDE VIDEO: